


Team formation
- A, Att = Attacker role
- D, Def = Defender role
- C, Coll = Collector role
- H, Heal = Healer role
- +# = Leech team being formed
- T+# = Trial team being formed
- Sub+# = Substituting player requested for ongoing team
- Q+# = Duo queen round team being formed
- +1a = The team is missing an attacker; similar for +1h, +1c, +1d.
- +2ad = Used to resemble two missing roles from the team. Can be any combination of the roles.
- +3 heal taken = Informs the other ranks of your prefered role upon plussing in.
- R = Ready
- Round = Waves 1-10
- Scroll(er) = First person in team (holding the scroll item)
- Qs = Quick switch. A rank should leave the wave lobby and come back in so that the scroller can change the role of a customer
- CHAD = Collector->Healer->Attacker->Defender (order in which a yellow egg is passed during wave 10)
- Fw = Fighter west
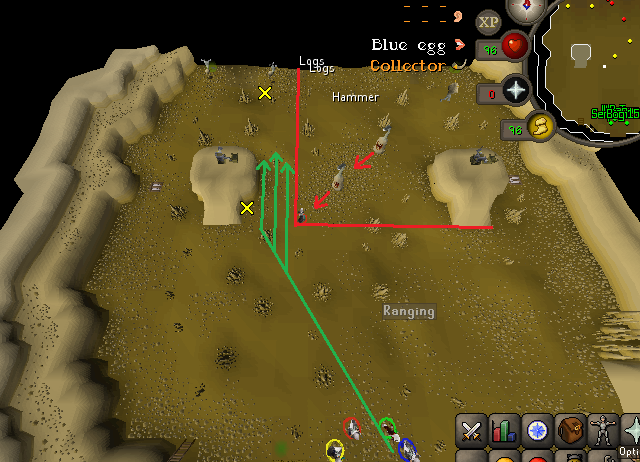
- Logs = Healer is located near the logs at north of map
- mid = Healer is in the middle of the map
- Fe, Fw = Fighter east/fighter west (There is a fighter located east/west)
- Re, Rs, etc = Ranger east/south, etc
- Unp e, Unp s, etc = A healer that has never been poisoned located east/south, etc
- Rp e, Rp s, etc = A low-hp healer that needs to be re-poisoned by the healer located east/south, etc
- Zoo east = A bunch of monsters east (usually fighters and rangers)
- Raa = the team may inform the defender that a runner is heading towards the entrance gate, "Raa!"
- Melee styles
- Acc = Accurate attack style
- Agg = Aggressive attack style
- Cont = Controlled attack style
- Def = Defensive attack style
- Ranged styles (we use the arrow colors and not the arrow names)
- Wind
- Earth
- Water
- Fire
- A/C block = Attacker-Collector block (see guides in Attacker/Collector for more info)
- Shr = the Healer is asking the attacker to use the shrink-me-quick, usually at the call change (eg: at 60s on w7)
- Book = the healer is asking the attacker to use the book of egg, usually at the call change (eg: at 60s on w7)
- R = Red eggs
- G = Green eggs
- B = Blue eggs
- Load = If said by a collector: I am loading the eggs in the hopper right now | If said by another role: Please load the hopper now
- M=Poison Meat
- T=(Poison) Tofu
- W=(Poison) Worms
- Os = Overstock (when the healer takes multiple of one type of food in a row)
- Os 6, 8 = Overstocking waves 6 and 8 at the beginning of the wave - the defender will call for the healer before getting his own food
- Lure = the defender will lure the 6s healer intentionally. OR asking someone to lure a healer that may've spawned
- Reserve = A healer that spawns later (usually around 42-66 seconds depending on the wave)
- Late = A reserve healer will spawn late, used to communicate to the defender so that the defender may catch the lure
- 48, 54, 60, 66, 72 = The reserve healer will spawn at that time (at 48, 66 seconds etc)
- 63b = any number followed by the b informs the attacker that the specified time is the best possible for that specific wave, so they can force the end accordingly
- Block = Disrupting/altering the runner's path by stepping in the way
- Phasing = when one runs through the defender stacking runners, thereby ruining the defender's attempted multikill
- E, Eastie = 3rd/4th runner on waves 2 and 3 eastern pathing
- Staggering = Killing the runners on wave 6-10 so as to play an active role in getting healer relures
- No-log = Completing a wave without picking up any logs
- Alt = Alternate account
- Tyfrs = Thank you for the rounds
- Run west = When attacking/collecting, you should always run along the western cannon to avoid luring healers
Last edited by a moderator: